
Protein Skimmers Explained: Do You Need One, and How to Size It
A protein skimmer is the one piece of saltwater equipment that confuses beginners the most, mostly because it doesn’t do what it looks like it does. It’s not a filter in the way a canister or HOB filter is a filter. It’s a machine that pulls dissolved organic waste out of your water before your bacteria ever get the chance to turn it into nitrate — which is a completely different job than filtering out what you can already see.
I skipped a skimmer on my first nano reef because the tank “looked clean.” It was clean. It was also fighting a slow phosphate creep for months that I eventually traced back to dissolved organics I had no way of exporting. A skimmer would have solved it before it started.
What a Skimmer Actually Does
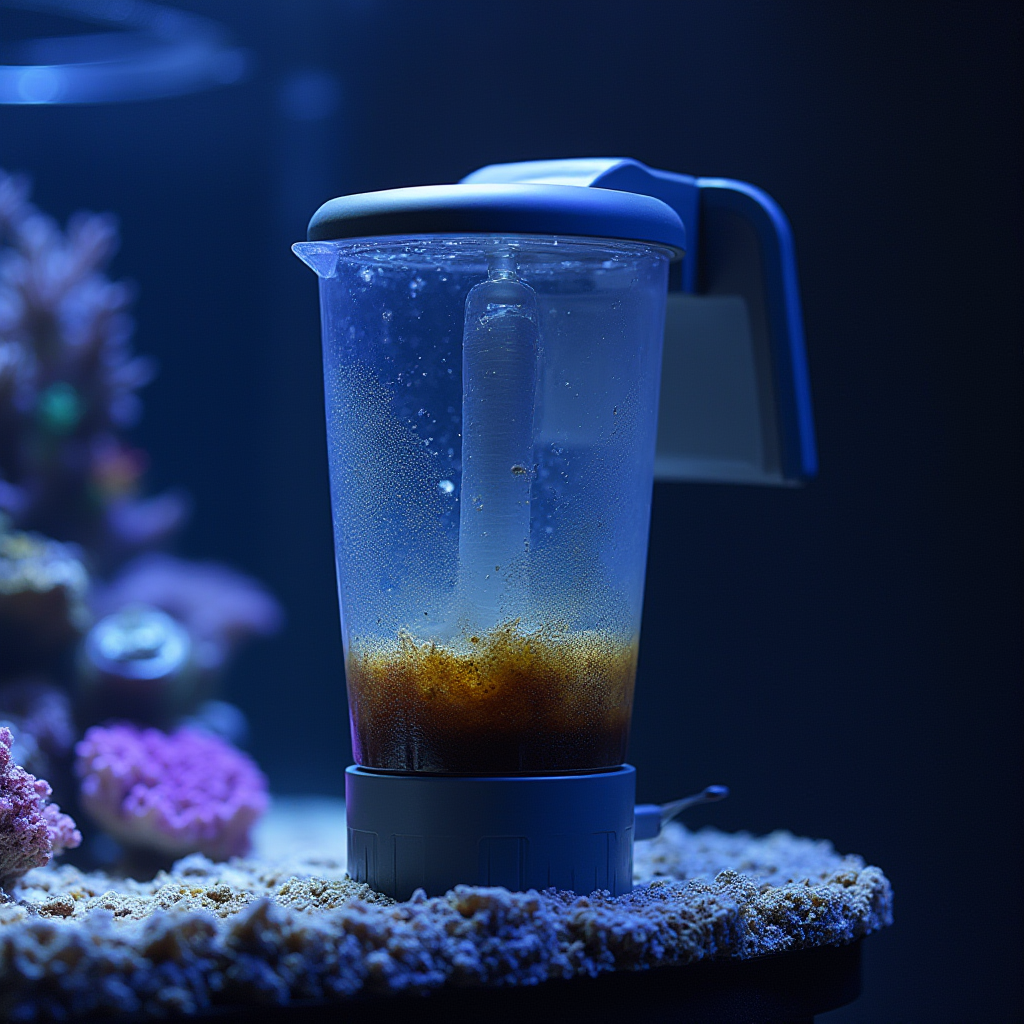
Inside the skimmer body, a pump injects a stream of fine air bubbles into the water. Dissolved proteins and organic compounds are naturally attracted to the surface of those bubbles (the same property that makes bubbles cling together on the surface of any protein-rich liquid). The bubbles rise, foam up in the neck of the skimmer, and get pushed into a collection cup as thick, dark, genuinely nasty-smelling “skimmate.” You dump that cup a couple times a week. It never re-enters your tank, and none of it ever gets the chance to break down into nitrate or phosphate in the first place — which is exactly what makes a skimmer more effective, gallon for gallon, than trying to out-filter the same waste after the fact.
Do You Actually Need One?
| Tank Type | Skimmer Needed? | Why |
|---|---|---|
| FOWLR (fish only with live rock), moderate stocking | Recommended | Fish waste load adds up fast without one |
| Reef tank with any real coral load | Yes | Corals need consistently low nutrients; a skimmer is the easiest way to get there |
| Heavily planted refugium-based system | Optional | A well-run refugium can substitute for some of a skimmer’s job |
| Nano tank under ~20 gallons, light bioload | Often skipped | Frequent small water changes can substitute at this scale |
| Any tank where you’re already fighting algae or high nutrients | Yes | A skimmer addresses the root cause, not just the symptom |
If you’re already relying on it to hit target reef parameters like the ones in Reef Tank Water Parameters Explained, a skimmer makes hitting the phosphate and nitrate targets dramatically easier to sustain long-term.
How to Size One Correctly
This is where most beginners get burned by marketing copy. Skimmer boxes love to print a “rated for up to X gallons” number, and that number almost always assumes a lightly stocked FOWLR tank — not a heavily fed reef tank with a real bioload. My rule of thumb:
- Take the manufacturer’s rated tank size and cut it roughly in half if you’re running a moderately to heavily stocked reef tank.
- Size for your bioload, not your tank volume. A 40-gallon reef packed with fish and coral needs a skimmer rated closer to 75-90 gallons on the box.
- Bigger is not automatically better. An oversized skimmer can strip out too much, including some of the beneficial trace elements and plankton your corals actually want. Match it to your actual waste load, not the largest one you can afford.
- In-sump beats hang-on-back for anything past a small nano — it’s quieter, easier to adjust, and doesn’t compete for space on the back glass.
Dialing One In Once It’s Running
- New skimmers typically need 1-2 weeks to “break in” as a biofilm builds up inside the body — don’t judge performance in the first few days.
- Adjust the water level or air intake gradually until you’re producing a dark, dense skimmate roughly every 2-4 days. Watery, light-colored skimmate usually means the water level is set too high.
- Clean the collection cup and neck weekly — dried skimmate buildup on the neck walls will choke off performance over time even when everything else is dialed in correctly.
Common Mistakes I’ve Made
- Judging a new skimmer’s performance in the first few days, before the biofilm break-in period finished.
- Buying based on the box’s gallon rating instead of my actual bioload.
- Letting the collection cup overflow back into the sump because I forgot to empty it on schedule.
- Assuming a skimmer replaces water changes entirely — it doesn’t. It reduces how much you need, not the need itself.
Full Protein Skimmer Checklist
- Sized for bioload, not just tank volume (rated size cut roughly in half for a stocked reef)
- Positioned in-sump where possible for stocked reef tanks
- Given 1-2 weeks to break in before judging performance
- Collection cup emptied on a consistent schedule
- Producing dark, dense skimmate every few days once dialed in
- Neck and cup cleaned weekly to prevent buildup
Final Verdict
A protein skimmer earns its space in the stand on any reef tank with a real coral or fish load — it pulls organic waste out before it ever becomes a nutrient problem, which is a lot easier than fighting that problem after the fact. Size it to your actual bioload rather than the label, give it time to break in, and stay on top of emptying the cup.
Ready to plan your equipment list? Use the Aquarium Wizard for a personalized setup plan, or read Reef Tank Water Parameters Explained next to see exactly what a skimmer is helping you maintain.
Keep moving from reading to action.
Use the related guides to go deeper, check the shop if you need matching accessories, or join the email list for new guides and product updates.
Get new guides, product updates, and practical aquarium planning notes by email without waiting to check back manually.
Use the contact page if you want direct help instead of general email updates.
Related Guides
Aquarium Filter Types Explained
Compare sponge, hang-on-back, canister, internal, and undergravel filters so you can choose the right aquarium filtration system for your tank size, fish, budget, and maintenance style. Real lessons from tanks in Norman, Oklahoma.
Aquarium Lighting Guide
Learn how to choose the right aquarium lighting for your home or office tank — intensity, spectrum, duration, timers, planted vs fish-only setups, and algae control. Real lessons from tanks in Norman, Oklahoma.
Complete Beginner Tank Setup Guide 2026
Step-by-step instructions for setting up your first home or office aquarium — from choosing equipment and location to cycling, stocking, and long-term success. Real lessons from tanks in Norman, Oklahoma.