
Iwagumi: Making a Minimalist Showstopper in Your Freshwater Tank
Written by Diamond Dave — September 11, 2026
A detailed look at stone roles, ratios, and the art of making less feel like more.
What even is Iwagumi?
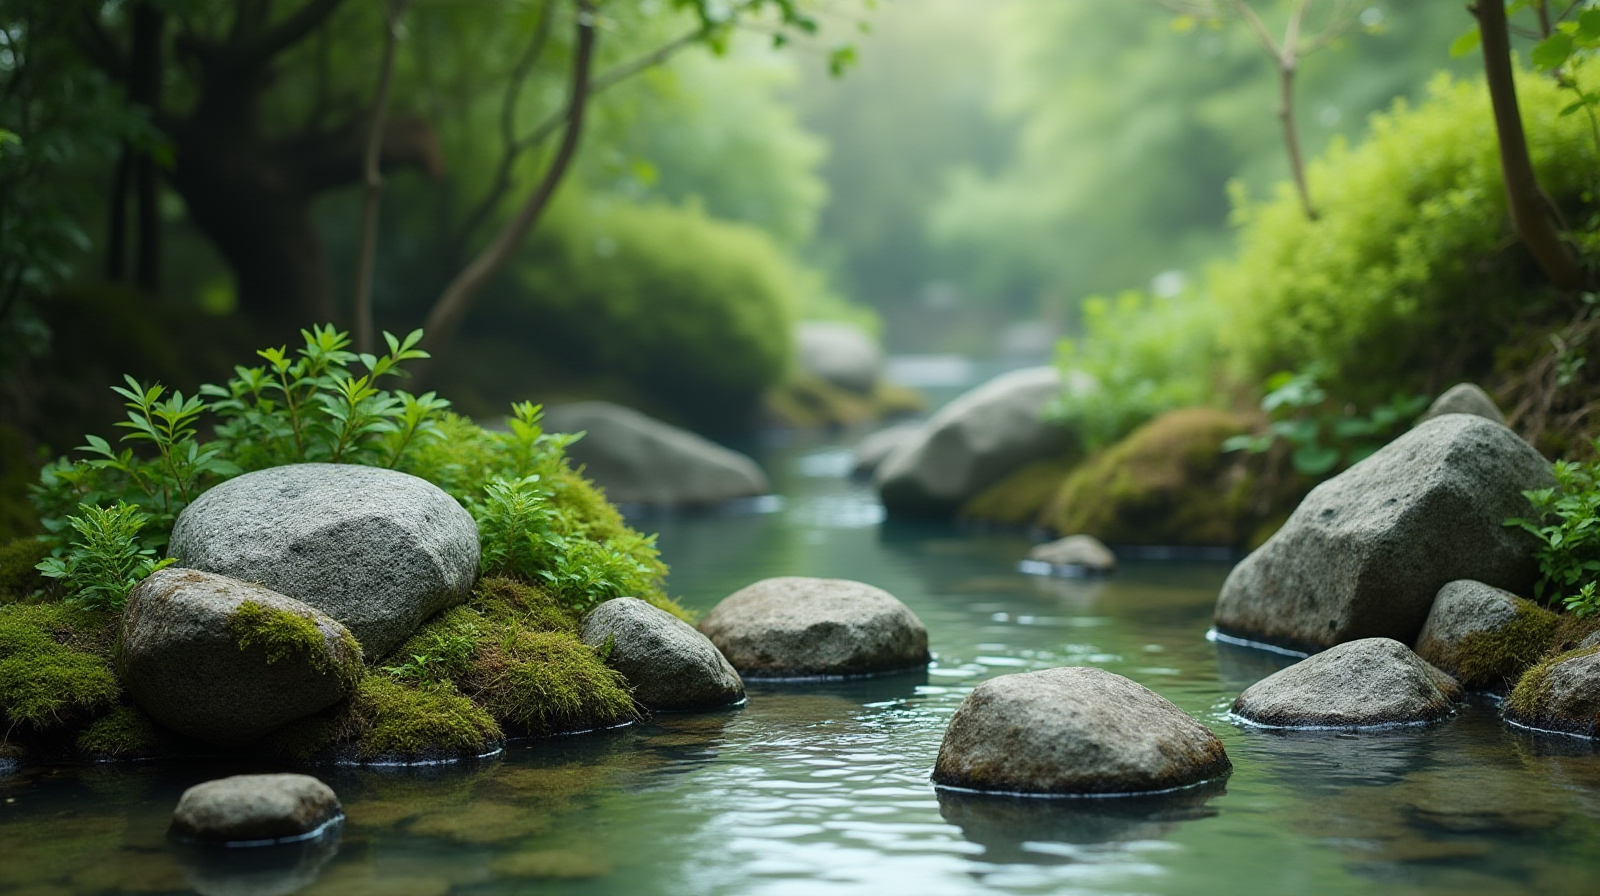
Iwagumi essentially boils down to a “rock garden” approach for your aquarium. Instead of trying to cram every type of aquatic plant, piece of driftwood, and colorful fish into one tank, you focus on the stones as the primary character. It’s about finding beauty in simplicity and choosing “less is more.” If you are tired of managing a dense jungle of different species but still want something that looks intentional and professional, this style is an excellent path to take. You aren’t trying to build a wild forest; you are creating a landscape—think of it as building a mountain peak or a dry riverbed under the water. It takes some discipline to keep things minimal, but there is a real peace in owning an Iwagumi tank because when the plants are kept low and simple, your main focus remains on the natural shapes and textures of the stone.
The Three Golden Rules You Need to Know Before Starting.
There are three core principles that help a rock layout look “right” rather than just messy. First is the use of odd numbers; for some reason, our eyes find groups of three or five much more natural and balanced than even pairs, which can look too symmetrical or forced. Second is grouping. You should never scatter stones across your tank like they were tossed in by accident. They should be grouped together to create “islands” or clusters that tell a story about the terrain. Third is understanding the roles of the rocks. Not every stone serves the same purpose. In Iwagumi, we generally categorize them into three types:
| Role | Purpose | How to identify |
|---|---|---|
| Oyaishi | The main stone | This is your centerpiece—the largest or most unique rock that grabs the eye first. |
| Soeishi | Supporting stones | Smaller rocks grouped near the Oyaishi to lead the viewer’s eye toward it. |
| Fuchi | Accent stones | Very small pieces used to fill gaps and create texture between larger stones. |
Building it: Planning your rock placements the right way.
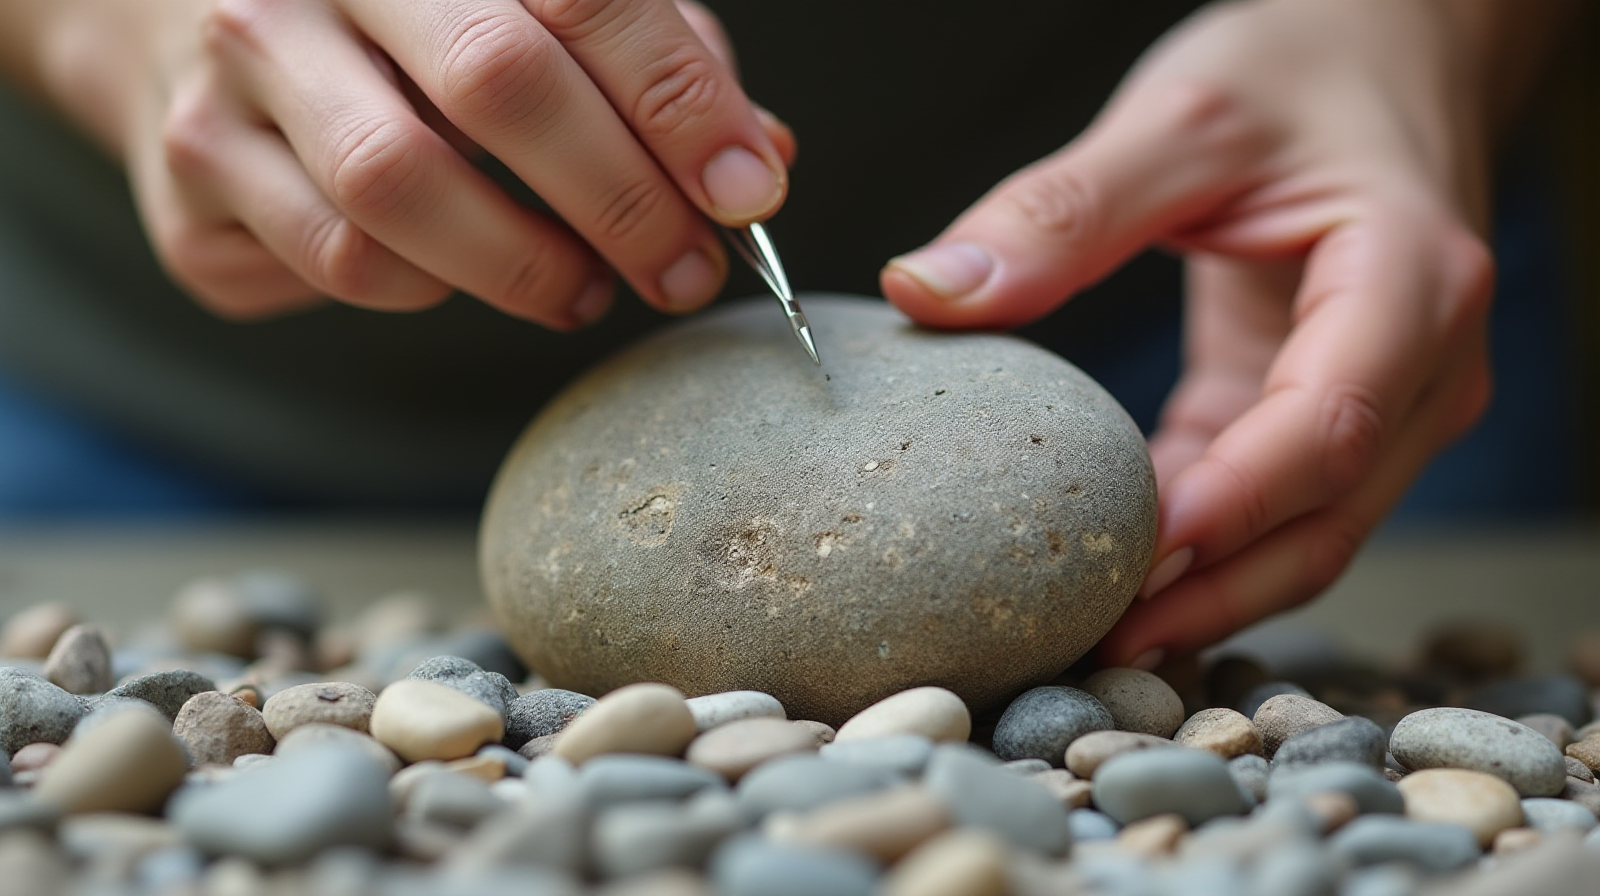
Before you ever move a heavy stone into your tank, lay them out on your floor or a large table. This is where most people get stuck because they try to “find” the layout while wrestling with rocks inside the glass. You want to establish a clear visual flow—think of it as a path for the eyes to follow. A common way to do this is by creating an “S” curve or using triangular arrangements that move from the foreground into the background. Pay close attention to scale; if you have a large tank, don’t use tiny pebbles as your main features. You want stones large enough that they look like substantial boulders rather than just small rocks. Proper spacing is also key; give the eye room to breathe between clusters so the layout doesn’t feel cluttered or crowded in one specific corner.
The details that make or break an Iwagumi setup.
Once you have a solid layout, the real work involves managing what grows around those stones. Because there are fewer plants covering things up in an Iwagumi style, any algae on your rocks will be very visible. You need consistent water chemistry and just enough light to keep your “carpet” of grass-like plants growing thick while keeping algae from taking over the hardscape. If you choose mosses or low-growing species like Dwarf Hairgrass, they need a steady flow of water moving over them to stay healthy and green. Additionally, be mindful of where your rocks meet the glass. If there is too much dead space between stones at the base, it can become a graveyard for debris and uneaten food. This waste will eventually rot and cloud your water if you don’t have enough circulation in those tight “pockets” between the rocks.
Common Mistakes I’ve Made with Rockwork Over the Years.
I’ve made my fair share of mistakes with rockwork, and they usually come down to a lack of planning during the initial setup. One big mistake was trying to mix different types of stones in one tank—for example, using jagged limestone right next to smooth river rocks. It looks messy very quickly because they don’t have a consistent texture or color palette. Stick to one type of stone for a cohesive look. Another error I made early on was not planning for drainage. If you place several large, heavy rocks directly against each other without any space at the base, organic waste gets trapped in those pockets. It’s very hard to clean and can lead to localized rot issues that affect your water quality. Finally, don’t underestimate the size of your centerpiece; I once used a rock that was far too small for my tank size, and it looked like an accident rather than a deliberate choice.
Source: AquaticRig
Get new newsletter issues, guides, and product updates by email.