Dreaming Big: Planning Your Next Monster Reef Build
Written by Diamond Dave — October 26, 2026
How to think through the vision before you start buying rock and glass.
The newsletter for reef keepers who want their massive build plans to actually work out in reality.
Starting with ‘Why’ Instead of ‘What’
When I first started getting into saltwater, I spent way too much time looking at pictures of neon-colored corals and high-end fish before I actually had a plan for my space. It’s easy to get caught up in the “wow” factor, but if you don’t know what the tank is supposed to do for your home, you’re going to end up with a setup that looks great in a photo but fails in daily life. Are you looking for a high-energy reef where fish are constantly swimming? Or do you want a slow-growing, massive colony of corals that stays relatively still? Maybe it’s about the sheer scale of the livestock—do you need enough room for large group feeders or just small, colorful specimens? Deciding on the “why” helps you narrow down your hardware requirements. A high-flow tank for active fish needs different pumps and spacing than a low-velocity display for delicate soft corals. Define your goal first so you don’t buy gear that fights against your vision.
The Plumbing Backbone: Making Sure Your Filtration Doesn’t Break First
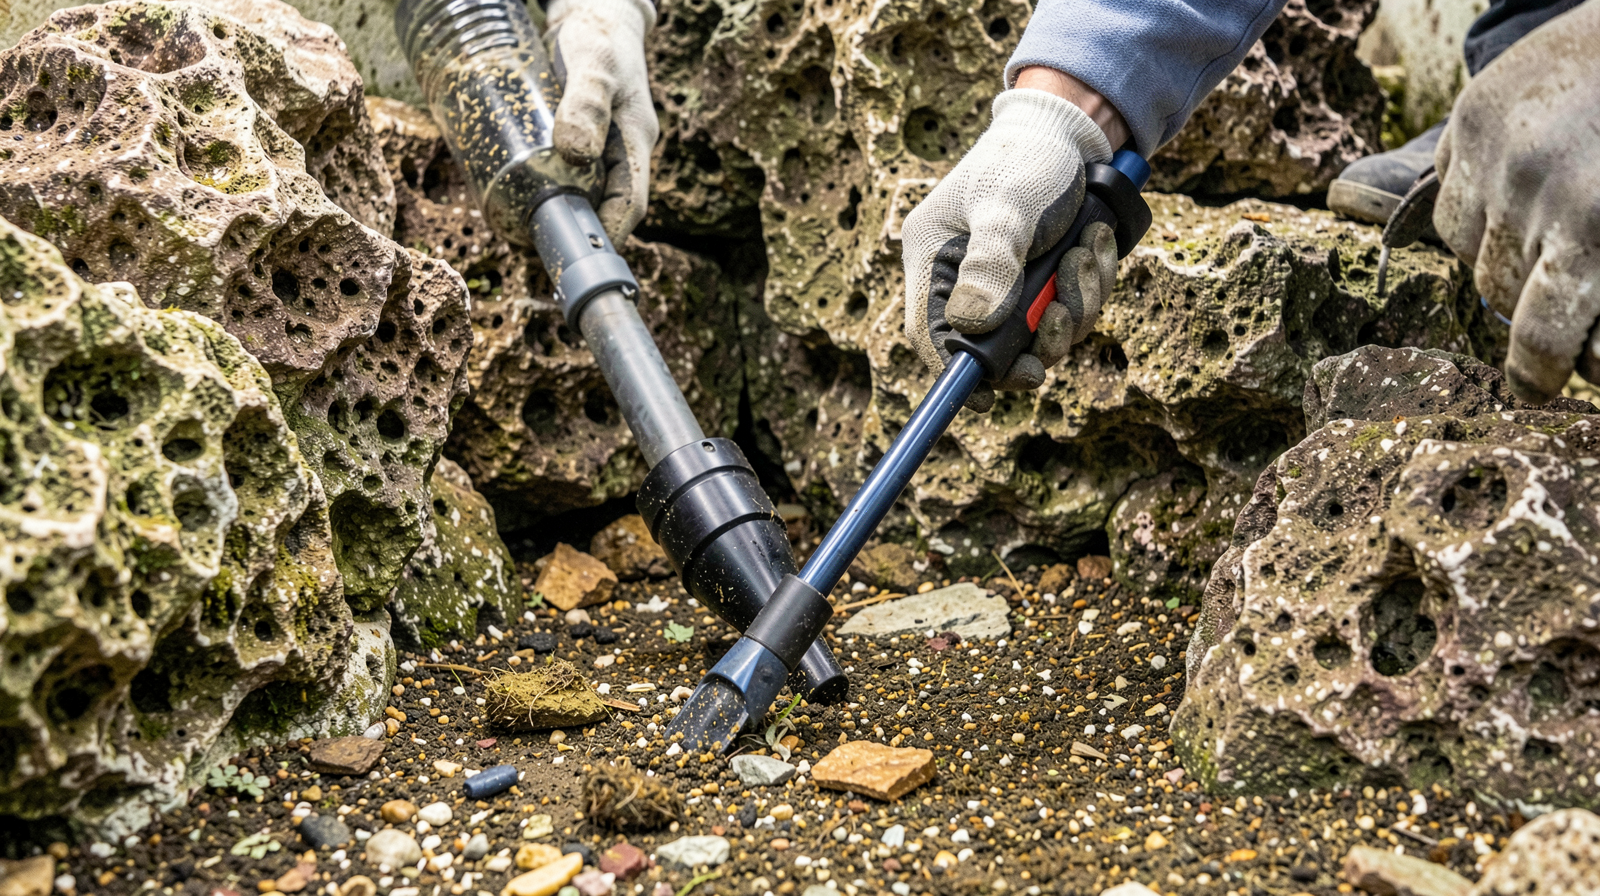
One of the biggest mistakes I see people make is prioritizing the “pretty” stuff—the lights and the rock—while neglecting the life support system. If your plumbing isn’t solid, it doesn’t matter how much you spend on livestock; they won’t survive a week. When planning a monster build, you have to think about flow dynamics. You need enough water movement to get nutrients to every corner of the tank, but not so much that it creates dead zones or tosses your corals around like tumbleweeds. I always tell people to plan for redundancy. If one pump fails or one filter gets clogged, does the whole system crash? Think about your plumbing layout before you ever place a piece of rock. You want a backbone where water moves logically from intake to filtration and back into the display area without creating “scuba” zones where waste just sits and rots.
Rockwork Philosophy: Structure vs. Just Decoration
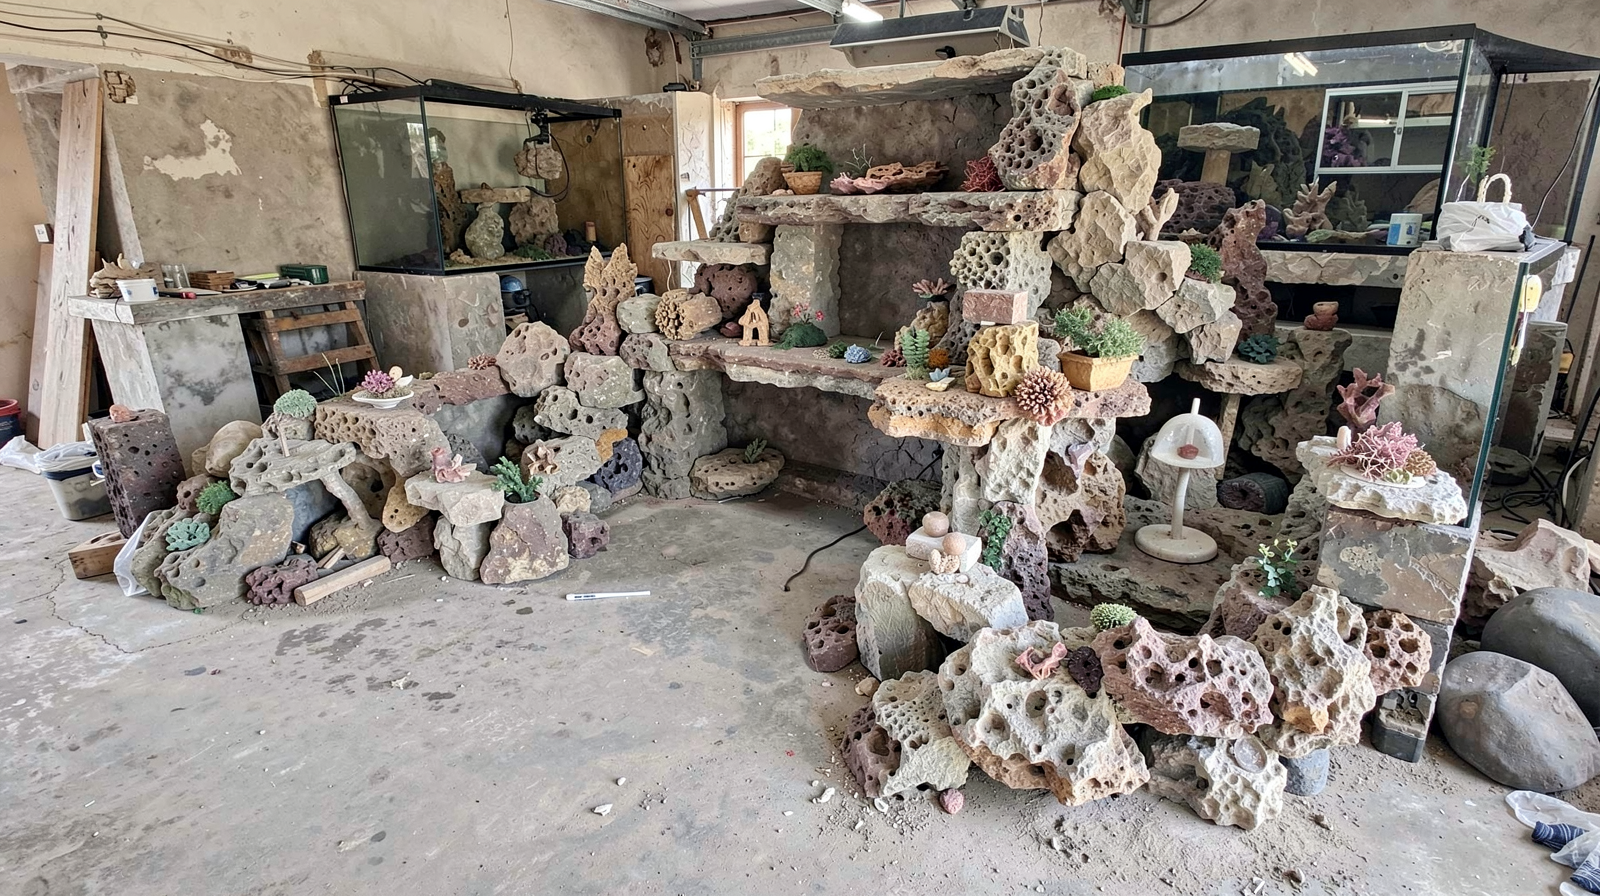
A lot of people treat reef rock like interior decorating—they just pile it up until it looks right. In a large-scale build, that’s a recipe for disaster. You have to think about the skeleton. The rockwork needs to be structurally sound so it doesn’t shift under the weight of new additions or move during a heavy storm in your plumbing system. I like to think of it as “hardscaping” first. You want to build out-of-sight structural supports that hold up the pieces you actually see. This also creates natural caves and crevices, which are vital for fish to feel secure. A good layout provides variety: high points for light-loving corals, deep shadows for bottom-dwellers, and open “swimming lanes” so your faster fish don’t get trapped in a corner. If the structure is solid, everything else you add later will have a home that makes sense.
The Compatibility Check: Don’t Mix Coral Dreams with Fish Reality
It’s easy to see a beautiful fish on Instagram and assume it belongs in your specific reef setup. However, “monster builds” often fail because of conflicting needs between the livestock. You might want a high-flow environment for certain corals, but that same flow could stress out a peaceful species of fish. Or you might have a fish with a heavy feeding habit that creates enough waste to choke out delicate coral polyps. Before you place an order, I recommend grouping your “dream list” into categories:
- High Flow / High Light: Usually reserved for stony corals (SPS).
- Moderate Flow / Moderate Light: Great for mixed reef and hardier fish species.
- Low Flow / Low Light: Best for soft corals, anemones, and bottom-dwelling “cleaner” fish.
By categorizing your livestock this way, you can design a tank that accommodates different zones, rather than trying to force every animal into one single set of conditions.
Budgeting for the Vision Gap (And How to Fail Safely)
Let’s be honest: these builds get expensive fast. The “vision gap” is the difference between what it costs to turn on a tank and what it costs to keep that tank running perfectly over time. Most beginners underestimate the cost of reliable equipment upgrades—like high-quality protein skimmers, stable controllers, or heavy-duty plumbing parts. I always suggest setting aside a significant contingency fund. You will eventually have a pump that burns out, a light that needs replacing, or a piece of livestock that dies unexpectedly and needs a replacement. It’s better to start with slightly less “flashy” gear that you can actually afford to maintain than to go all-in on the most expensive tech and run out of money before the tank is even cycled. Being honest about your budget now prevents a lot of stress later when things inevitably need fixing.
The Phased Approach: Making It Real Without Bankrupting Yourself
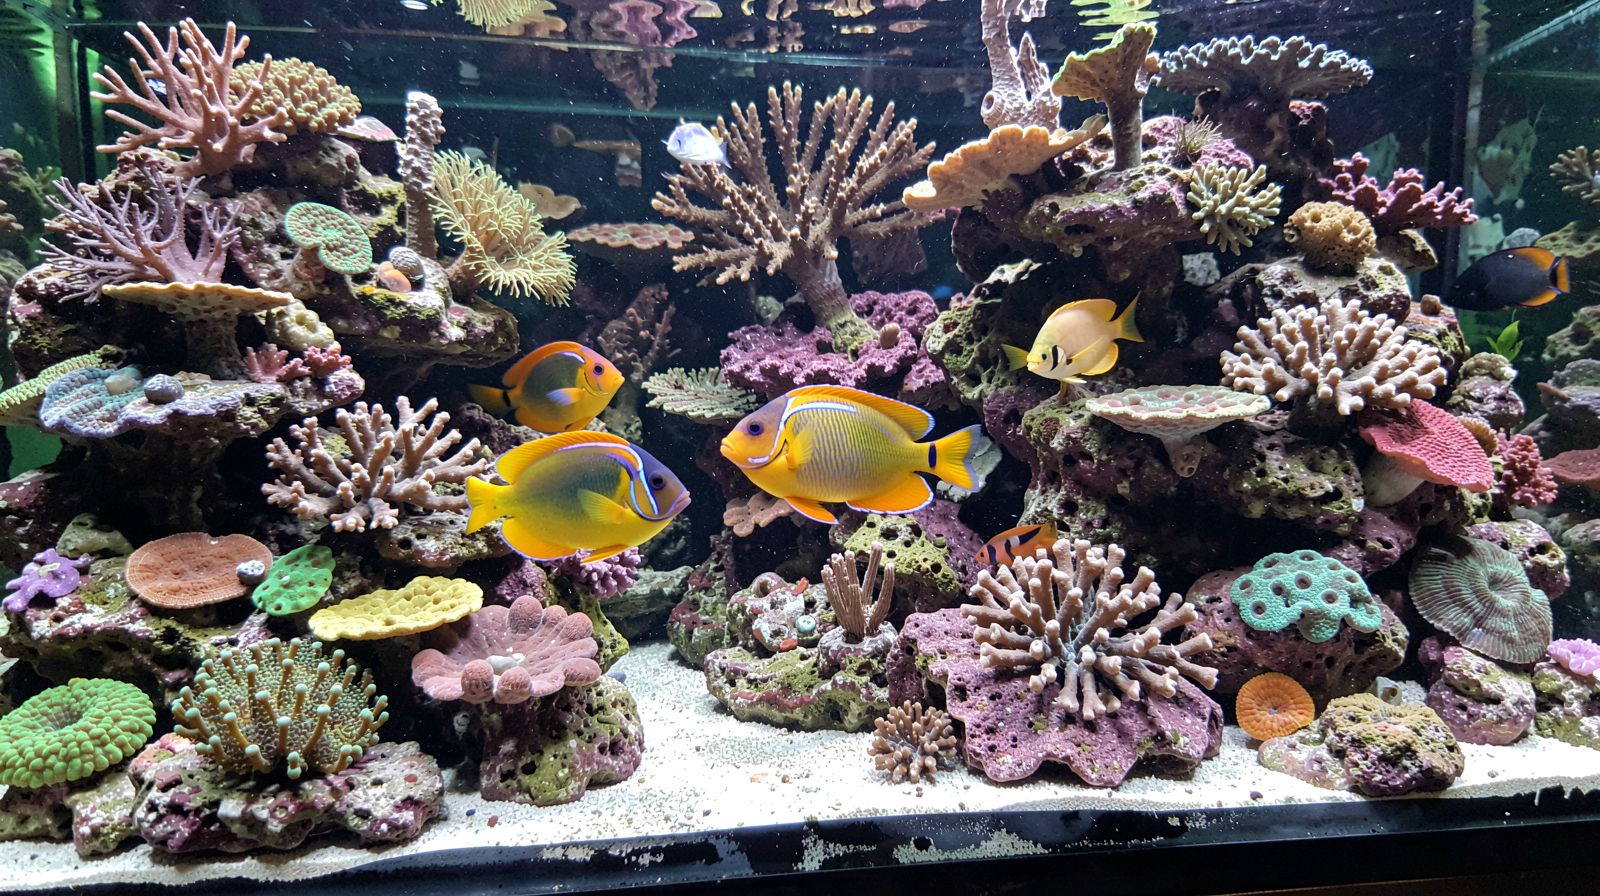
Trying to do everything at once—the massive stand, the huge tank, all the rock, and every fish you want—is how most projects stall out or fail before they start. I prefer a phased approach. Break your “monster build” into 3-to-6 month milestones. For example:
- Phase 1: Finalize the footprint, order the stand/tank, and get the primary plumbing installed.
- Phase 2: Cycle the water and establish the main rockwork structure (no fish yet).
- Phase 3: Introduce hardy “cleaner” livestock and initial coral colonies to test your parameters.
- Phase 4: Gradually add more complex corals and your primary display fish as the system stabilizes.
This keeps you moving forward without feeling overwhelmed or drained of resources. It also gives you time to learn from the small mistakes in Phase 2 before they become catastrophes in Phase 4. Small wins keep the momentum going.
Source: Reefs.com
Get new newsletter issues, guides, and product updates by email.