

Deep Dive into High-Powered Reef LED Systems Like Orphek Natura iCon MAX
Written by Diamond Dave — September 4, 2026
Understanding performance and setup for mid to large saltwater reef tanks.
Getting Technical: What are we really looking at with these big lights?
When you start looking at high-powered systems like the Natura iCon MAX, the spec sheets can feel like a different language. They’ll throw numbers like “watts,” “chip counts,” and “channels” at you. I want to break those down into what they actually mean for your reef. Watts tell you how much power the unit pulls from your wall; in practice, this translates to how much heat is being generated by the fixture. The number of “chips” refers to the individual LED components inside the housing. Having a high chip count usually means better longevity—if one chip fails, it’s just one small point of light lost rather than the whole unit going dark. Finally, channels are about control. More channels mean you can adjust different parts of the spectrum (like deep blues or reds) independently to mimic a natural day cycle without having to juggle multiple remote controls.
Single Fixture vs. Multi-Fixture Coverage: It’s not just about brightness.
One of the most common mistakes I see in larger tanks is assuming that one massive, high-powered light will cover every corner perfectly. While a single unit might be powerful enough to reach the bottom, it often creates “hot spots” directly under the center and leaves the edges in a bit of a shadow. In a large footprint, this leads to uneven growth where only the corals in the middle thrive while others struggle for consistent light levels. Using multiple fixtures—or spacing out several units across the rack—ensures that every inch of your reef gets even coverage. This consistency makes it much easier to manage the tank because you aren’t fighting different lighting conditions just because a coral happens to be tucked into a corner or sitting on the edge of the display.
The Practical Reality Check (And Cost): What this means for your tank setup.

Let’s talk straight about what these systems mean for your wallet and your workspace. These are not budget-friendly items; they are significant investments in your reef’s infrastructure. When you move into this tier of lighting, you have to consider the “hidden” costs as well. You might need heavy-duty mounting hardware or additional power circuits if you plan on running multiple high-wattage units simultaneously. From a practical standpoint, more light usually means faster growth for both corals and algae. If you decide to move toward this level of power, your filtration system and water chemistry stability need to be top-notch to handle the increased biological load that comes with it. Don’t invest in these lights just because they look impressive; only do so if your current flow and nutrient export are ready for what those lights will produce.
A Quick Checklist Before You Buy: Questions to ask yourself first.
Before you commit to a major lighting upgrade, I always suggest taking a step back to see if your “house” is in order. It’s much easier to address these questions now than it is when you’re dealing with an algae bloom or a blown circuit at 2 AM. Ask yourself:
- Is my filtration system robust enough to handle higher nutrient loads from faster growth?
- Do I have the physical space and mounting options for heavy fixtures over my specific tank size?
- Does my electrical circuit have enough “headroom” to power multiple high-wattage units safely without overloading it?
- Am I prepared to manage more complex programming if I choose a multi-channel system?
If you aren’t confident in your filtration or your electrical capacity, it might be better to stick with your current setup and upgrade your hardware in smaller stages.
Making it Work Together with Your Existing Gear
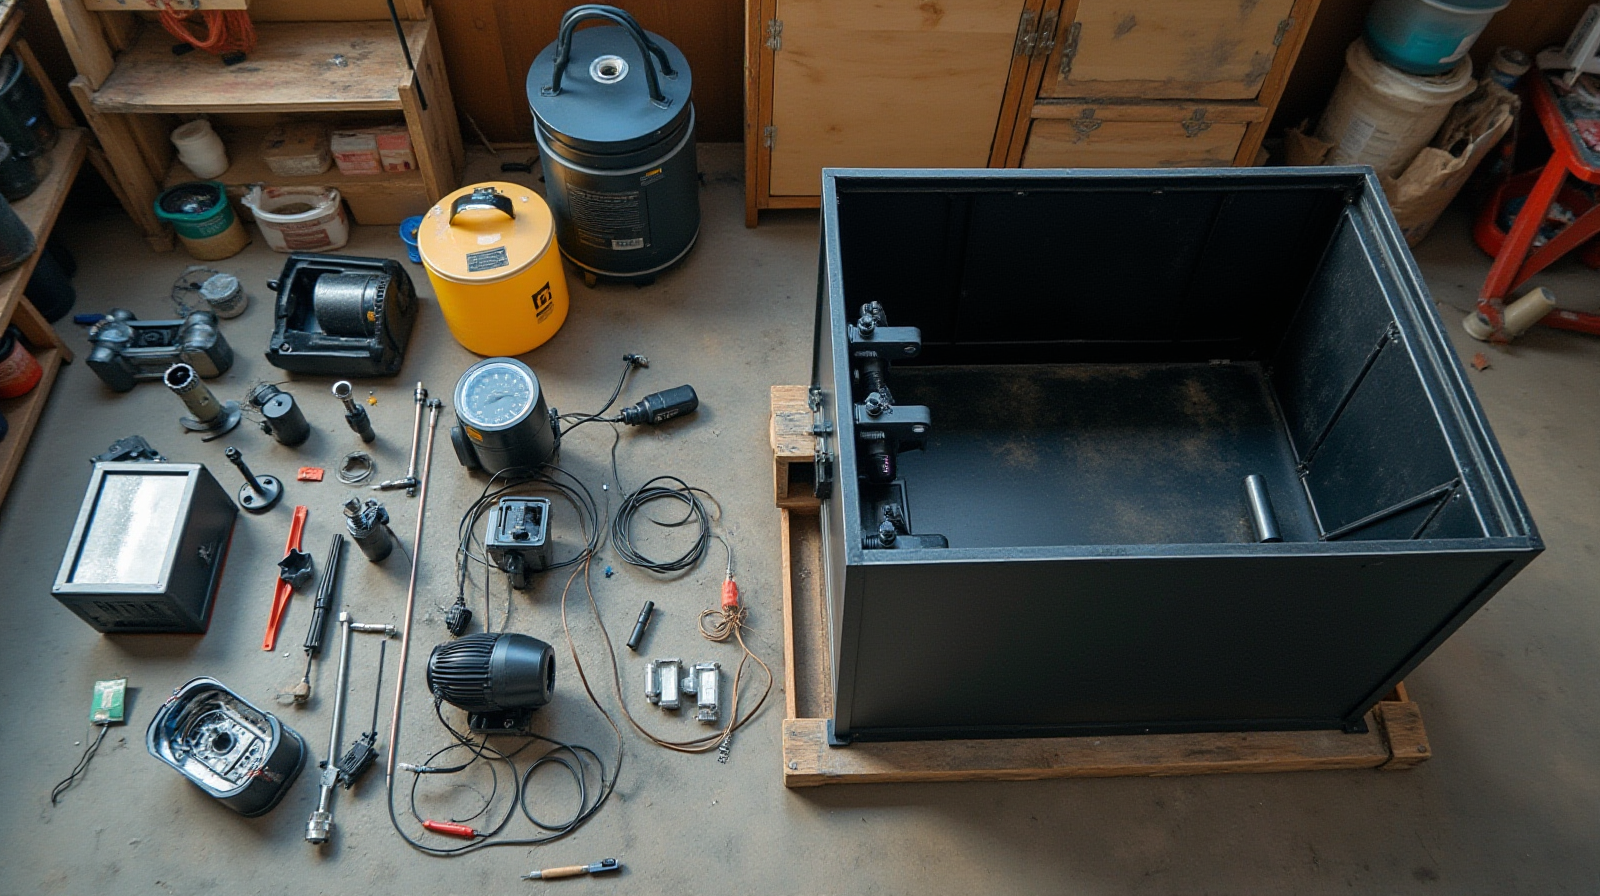
The final piece of the puzzle is how this new lighting system integrates into the “machine” that is your aquarium. A high-powered light shouldn’t require you to overhaul your plumbing or move your protein skimmer just to make room for a mounting bracket. When planning an upgrade, ensure there is plenty of clearance for air and heat to circulate around the fixtures so they don’t cook nearby equipment. You also want to make sure that any new wiring doesn’t interfere with automated feeders, sensors, or other components you’ve already installed. The goal is a system where the light works in harmony with your pumps and skimmers. If adding these lights forces you to compromise on your flow patterns or plumbing layout just to fit them in, it might be time to reconsider how many units you need or where they are positioned.
Source: Reef Builders
Get new newsletter issues, guides, and product updates by email.